
Garish Gal How To: Ikea Shelving Hack
Hi Garish Gals-
It has been a LONG time since I last blogged. Truth be told, I was lacking Inspiration. However, the GARISH GAL BLOG IS BACK. Not only are we giving you fashion, but also outfit inspo, home decor, DIY projects, and fun recipes!
For the first post back, I am sharing a DIY Ikea hack that I recently completed! Hopefully you find it as easy & fun as I did!
Inspo:

This is from the offices at LikeToKNOW.it that they had featured on their instaStories. SERIOUSLY OBSESSED! Their offices are PERFECT.
Before:
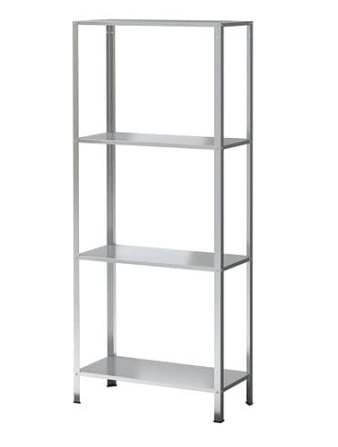
I started with the Hyllis Ikea Shelf unit (seriously, it’s only $14.99!!). Gang, this thing is BRUTAL looking when you pull it out, but don’t worry we are about to make it CUTE.


Step 1–
I took out all the pieces and laid them on cardboard on my garage floor. I started spraying them with this Metallic Gold Spray paint that I purchased at Menards. I also used this incredible thing to avoid ruining my Mani with spray paint!
I sprayed every square inch the give you! I knew I would be covering the shelve tops with contact paper, but I sprayed them anyway. I used 1.5 cans of the gold spray paint and each received 2 coats!
I had read a tutorial where the gal had assembled first and then sprayed everything. However, I wanted to make sure I coated everything the best I could. I took some cardboard and my drill to drill the screws into a piece of cardboard. Thats how I sprayed them! Super Easy!
Once I was done, I used the drill to back out the screws! Easy peasy!


After I was done I brought the shelves inside my house before the next step. Again, I didn’t really care about the tops so you can see there are some paint blemishes.
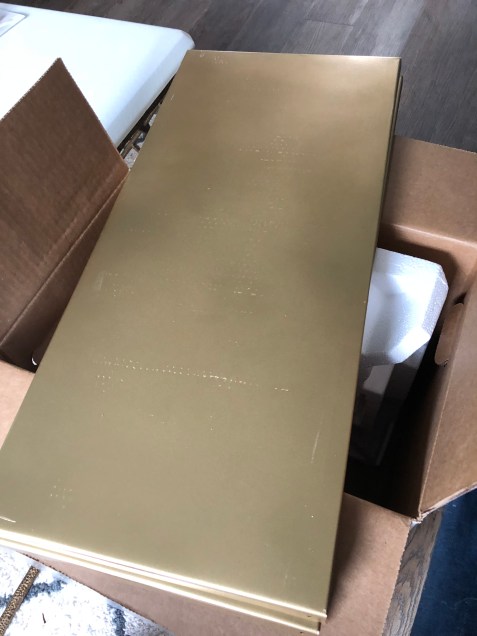
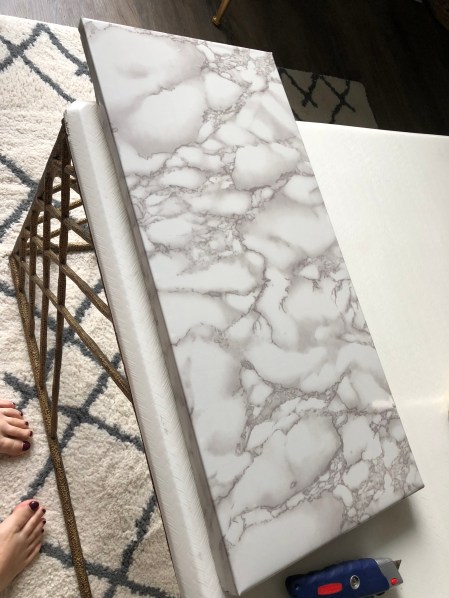
Step 2–
CONTACT PAPER!! I have actually used this stuff in the fashion truck, so I had some left over and then ordered another roll of it. I would say 2 rolls would be sufficient. I had some left over in the end. I also used a box cutter (and exact-o knife would have been amazing, but I couldn’t find mine).
I laid the paper down and then put the shelf on top and cut like I would if I was wrapping a present! Once I had cut the outline, I flipped the shelf over, left about 1 in for the end, and then started slowly sticking the paper to the shelf. You MUST go slow (I know it’s hard, I’m not patient either) in order to push out all the air bubbles. I just used my pinky, but you can also purchase a tool if you feel so inclined. My pinky worked great!
I cut out the overage on the corners so there wouldn’t be funky overhang. Sometimes the contact paper doesn’t want to stick, if that happens to you, then I suggest using either hot glue, or E6000 glue to seal it down!

Step 3–
Start assembling!! Follow the directions from the Ikea box–they aren’t as bad as everyone says!! Also, I poked little holes in the contact paper so you can easily see where the screws need to go in!
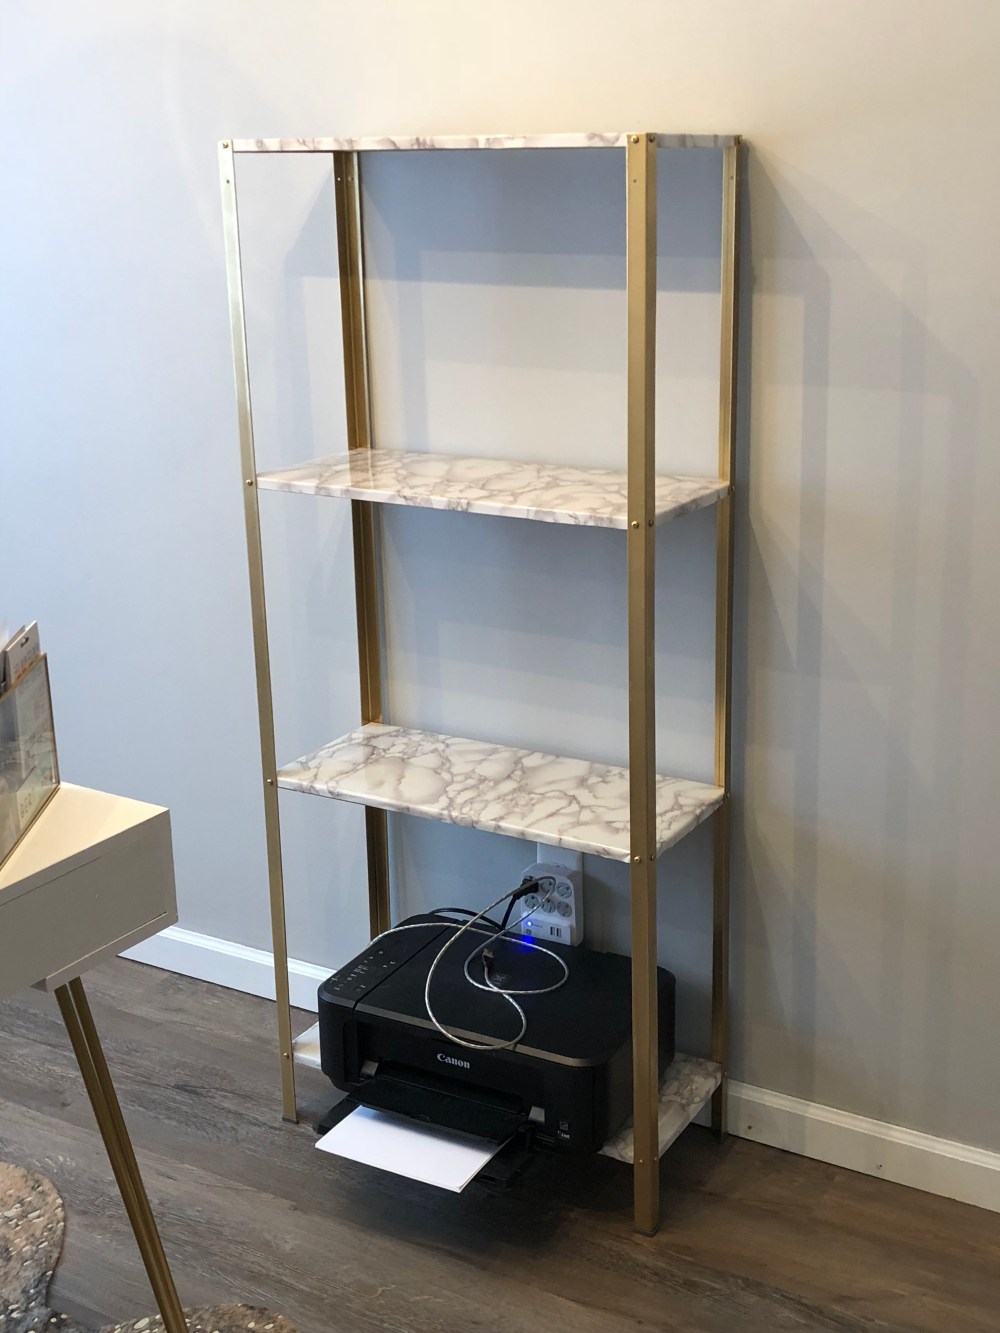
Once you have assembled, it’s time to start STYLING!!

Here’s a full view of my office! I am living for Mid Century Modern styling, so this fit PERFECTLY with my decor.

What You Need-
Shelving Unit – Purchased at Ikea
Spray Paint- Purchased mine from Menard’s, but you can really find it anywhere!
Spray Paint Gun – This this was a life saver! Bought mine at Hobby Lobby (with their 40% off one Item coupon), but it can also be found on Amazon.
Contact Paper– Purchased from Amazon
Send us pics if you make this for yourself! We would LOVE to see!
Enjoy, Garish Gals!
XOXO
